
These instructions are for Windows Live Mail 2012 but will probably be similar for other versions.
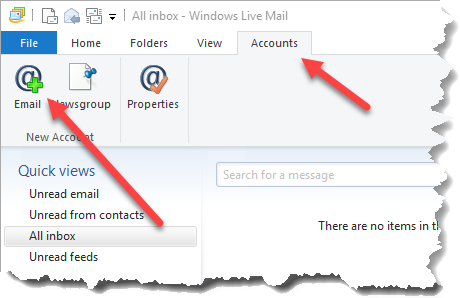
On the toolbar click Accounts then Email
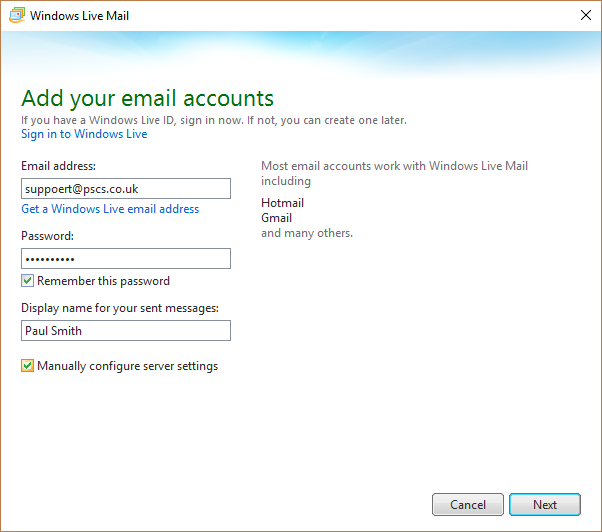
Enter your Email address, Password and Display name (real name). Ensure the Remember this password and Manually configure server settings boxes are checked. Press Next.

Select the Server Type. Usually IMAP if you are using VPOP3 Enterprise, or POP otherwise.
In the Server address boxes, enter the IP address or name of the computer running the VPOP3 software for both the Incoming and Outgoing servers.
Usually you can leave the Port setting as it is (110 for POP, 143 for IMAP and 25 for outgoing) unless you have changed them from the defaults in the VPOP3 Service settings.
Usually you will leave the Requires a secure connection unchecked, unless you have installed an SSL certificate in VPOP3 Enterprise.
In the Authenticate using box, choose any option but NOT Secure Password Authentication.
In the Logon user name box, enter the username as specified in the VPOP3 User settings. Note that this is just the username, not a full email address.
In the Outgoing server information section, check the Requires authentication box.
Press Next, then Finish.
