
These instructions are for the Windows 10 "Mail" App from Microsoft.
Click on the Accounts, then Add Account
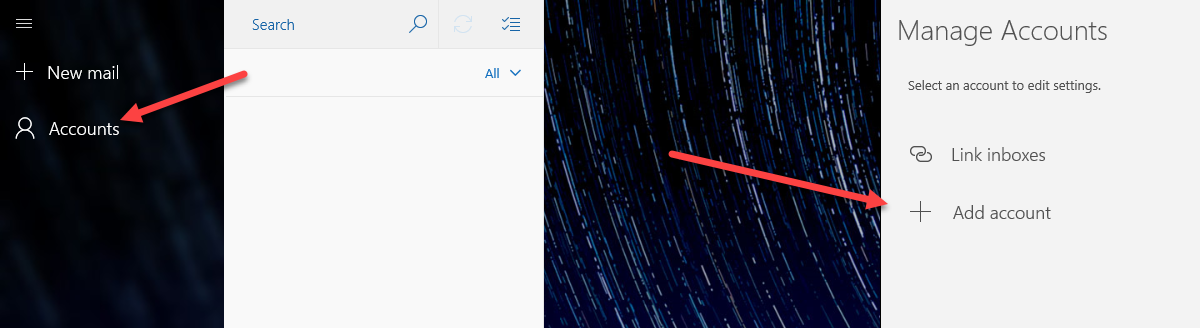
Choose Advanced setup (you may need to scroll down)
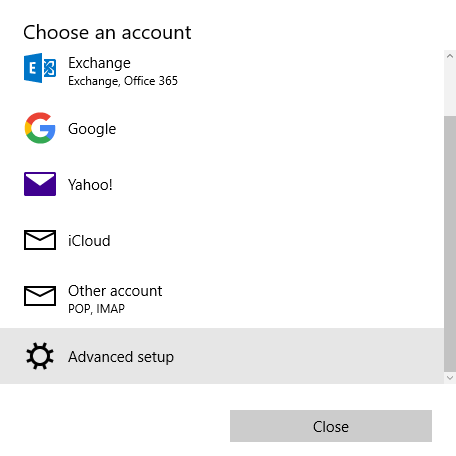
Choose Internet email

On the next page enter your details
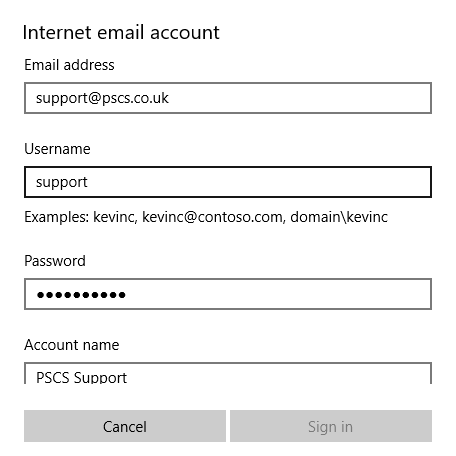

In Email address,enter your email address.
In Username, enter your username as defined in the VPOP3 User settings (not your email address).
In Password, enter your password as defined in the VPOP3 User settings.
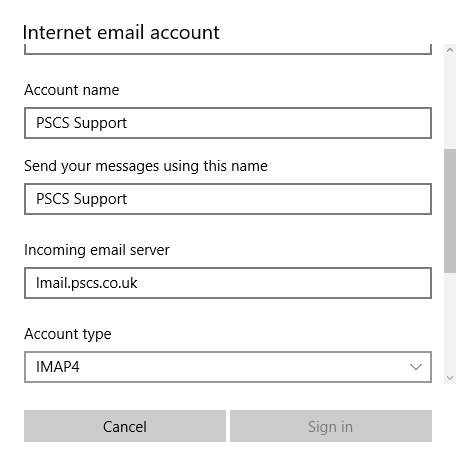
In Account name, enter the name you want to use to refer to the account in the Mail App.
In Send your messages using this name, enter the real name you want to use.
In Incoming email server, enter the IP address or name of the computer running the VPOP3 software.
In Account type, choose the appropriate option - usually POP3 if you have VPOP3 Basic, or IMAP4 if you have VPOP3 Enterprise.
In Outgoing email server, enter the same as for Incoming email server.
Usually you will check the Outgoing server requires authentication box.
Check the Use the same username and password for sending emails box.
Check or uncheck the two "Require SSL..." options depending on whether you have an SSL certificate installed in VPOP3 Enterprise.
Press the Sign In button to have the Mail App create the account for you.
