
These instructions are for eM Client 6.0 but may be useful for other versions of eM Client.
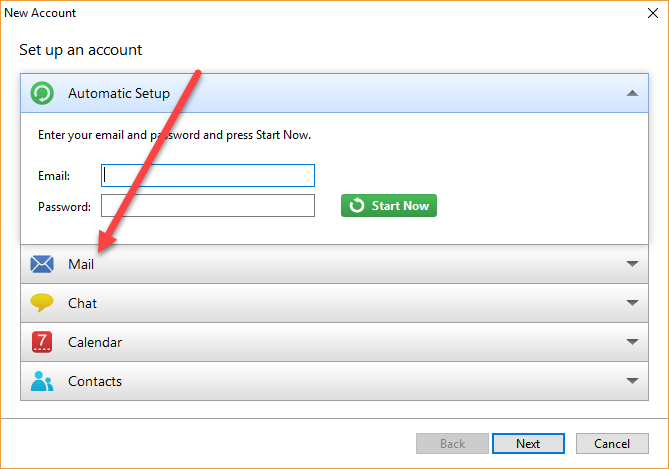
In Outlook, go to Tools -> Accounts and select Mail
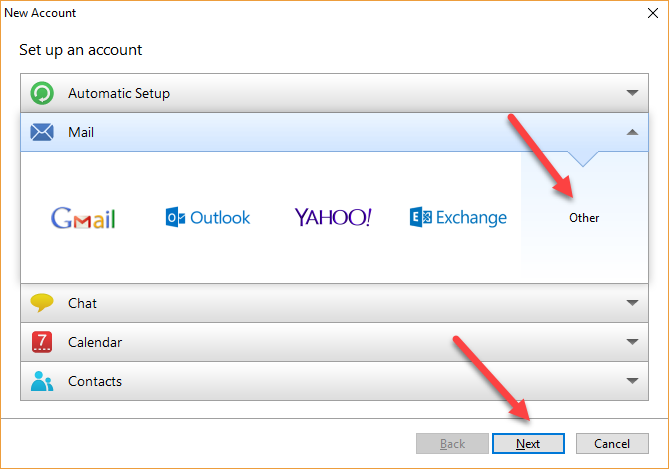
Select Other, then Next
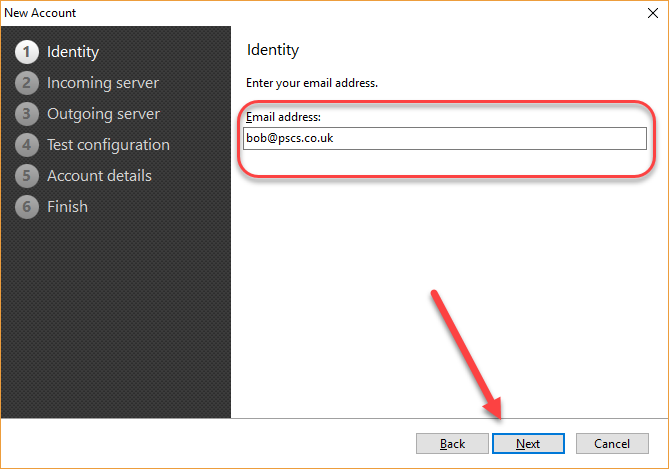
Enter your email address and press Next.
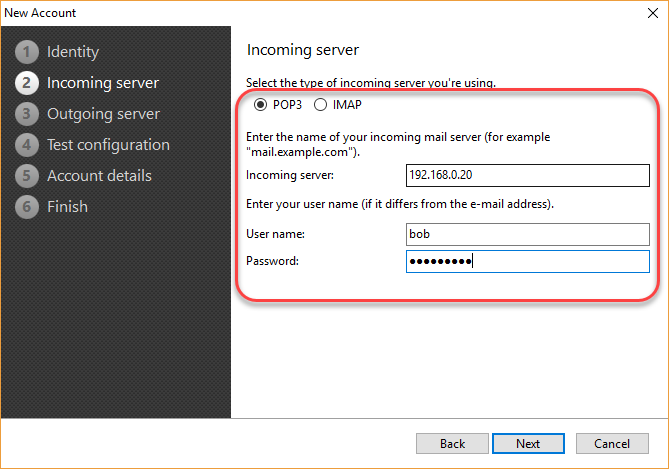
Select POP3 or IMAP as appropriate (POP3 if you are using VPOP3 Basic or are using VPOP3 Enterprise and want to use POP3, IMAP if using VPOP3 Enterprise and want to use IMAP4).
In the Incoming server box enter the DNS name or IP address of the VPOP3 computer.
In the User name box enter the VPOP3 username defined in the Users list (not the full email address).
In the Password box enter the VPOP3 password defined in the Users list.
Press Next
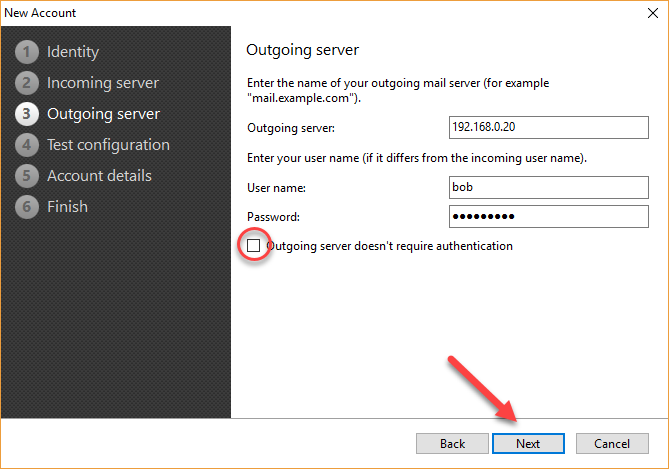
Leave the Outgoing Server settings as they are (eM client will copy them from the previous page, which is correct). Make sure that Outgoing server doesn't require authentication is not checked.
Press Next
Press Next to test the account settings, Next to enter your name and account name and Next again.
If you chose POP3 as the incoming server type, then you have the option of having eM Client store your messages from this account in the general Local Folders area, or keeping them separate (Create separate folder tree for messages).
If you chose IMAP then this isn't an option because they will always be kept separate. This is because eM Client will show what is stored on the server, and if that is mixed in with messages which aren't stored on the server, it would be very confusing.

Press Finish to add the account.
